
What’s the hoop thingy all about? Well it’s a super great way to keep your fabric stretched nice and tautly so that it’s WAY easier to push your needle in and out of your work. It lets you achieve lovely neat stitches! It helps to keep your stitching nicely following the lines of your embroidery design too. AND it’s also a lot easier to handle your stitching when it’s on a hoop because it doesn’t flop about all over the place like a cross fish.
Jenny Hart of
Sublime Stitching recommends keeping your hoop’s screwy bit at TWELVE O’CLOCK. This is a great tip, as it means that you’re less likely to catch your floss on the screw as you stitch. So do that. You will thank them, really you will.Are you ready to start?! Let’s go! You should have your piece of calico with your design on it (unless it’s already faded like mine did – if so – trace it again and let’s stitch quick and nice before it fades again!! You could also use a light grey-lead pencil, which is more permanent – or a water soluble fabric marker for this.) Here we go….!
——————————————————————————–
How to Use and Embroidery Hoop
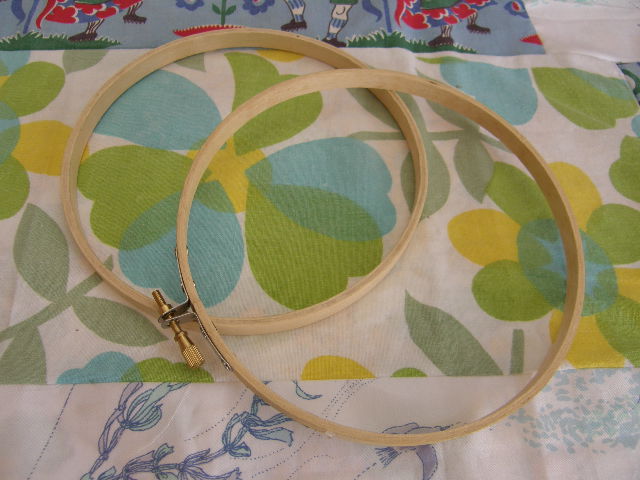
(Above) Here is your hoop – with the little screw loosened – so that the two parts are now separate! The bit without the screw will sit underneath your work (fabric!), and the bit with the screw sits over the top of the nicely stretched fabric. So do that, unscrew your hoop!
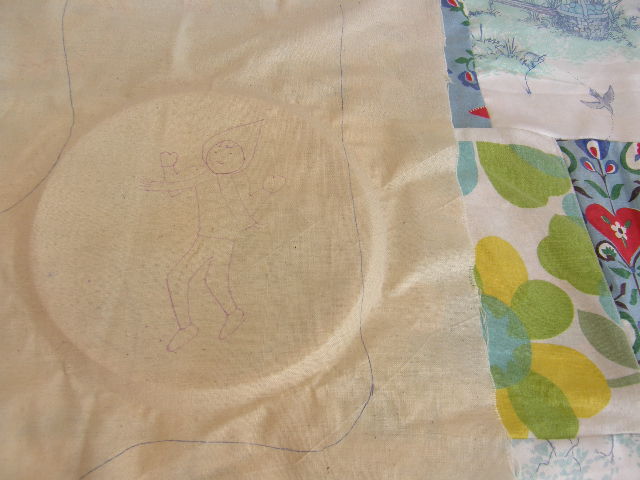
(Above) Now place the screw-less hoop piece on your work surface. Drape the fabric (with your design on it) over the top of it. Try to make sure your design is nicely centred so you can stitch away without unscrewing the hoop and moving the fabric too many times. You might have to do this a bit later in your stitching though, and that’s super okay! Does it look like the picture above? Excellent work stitchers!
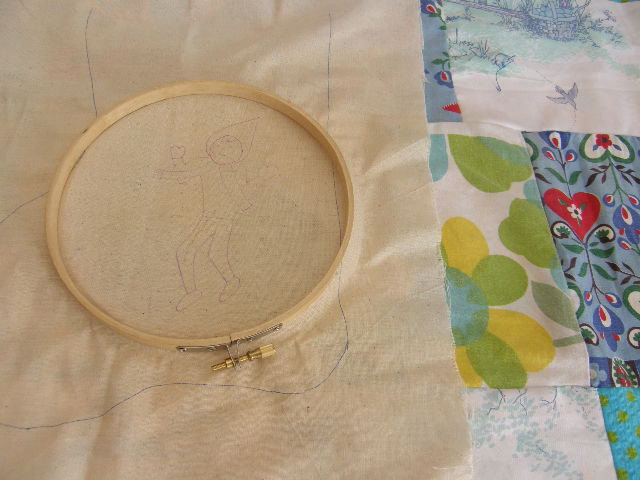
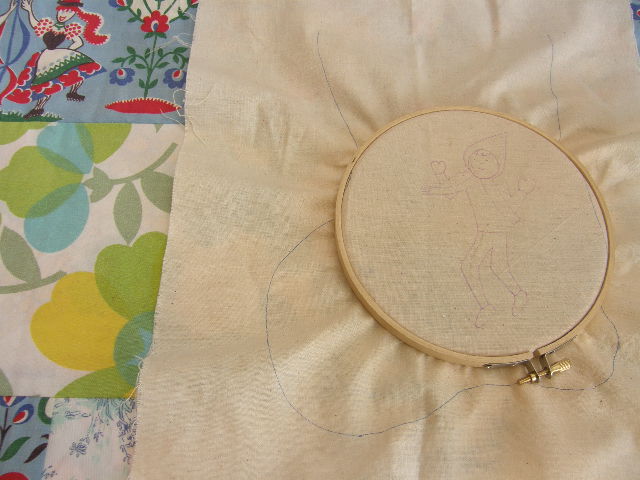
(Above) Now – with the screw still loosened (on the other screwy hoop bit) – push the screwy hoop piece down carefully over the top of the concealed hoop and draped over fabric so that they ease and lock together nicely. Sometimes it’s a tight fit. If it is loosen the screw a wee bit more. Now once you’ve done that, be sure your fabric is pulled nice and tightly like a little stitching drum! Just tug it carefully, evenly and nicely until it is.

(Above) Now screw the little screw nice and tight to create a firm fabricky stitching surface. Done? Great!
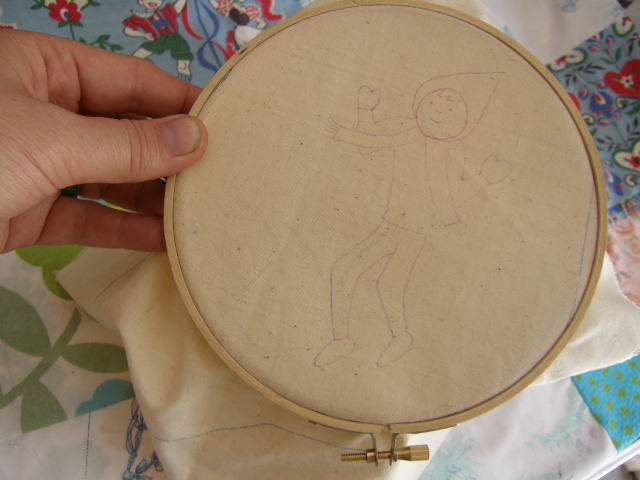
(Above) And there you go! Ready to stitch! Hurrah!
——————————————————————————-
[…] How To Use An Embroidery Hoop […]
[…] How To Use An Embroidery Hoop […]