
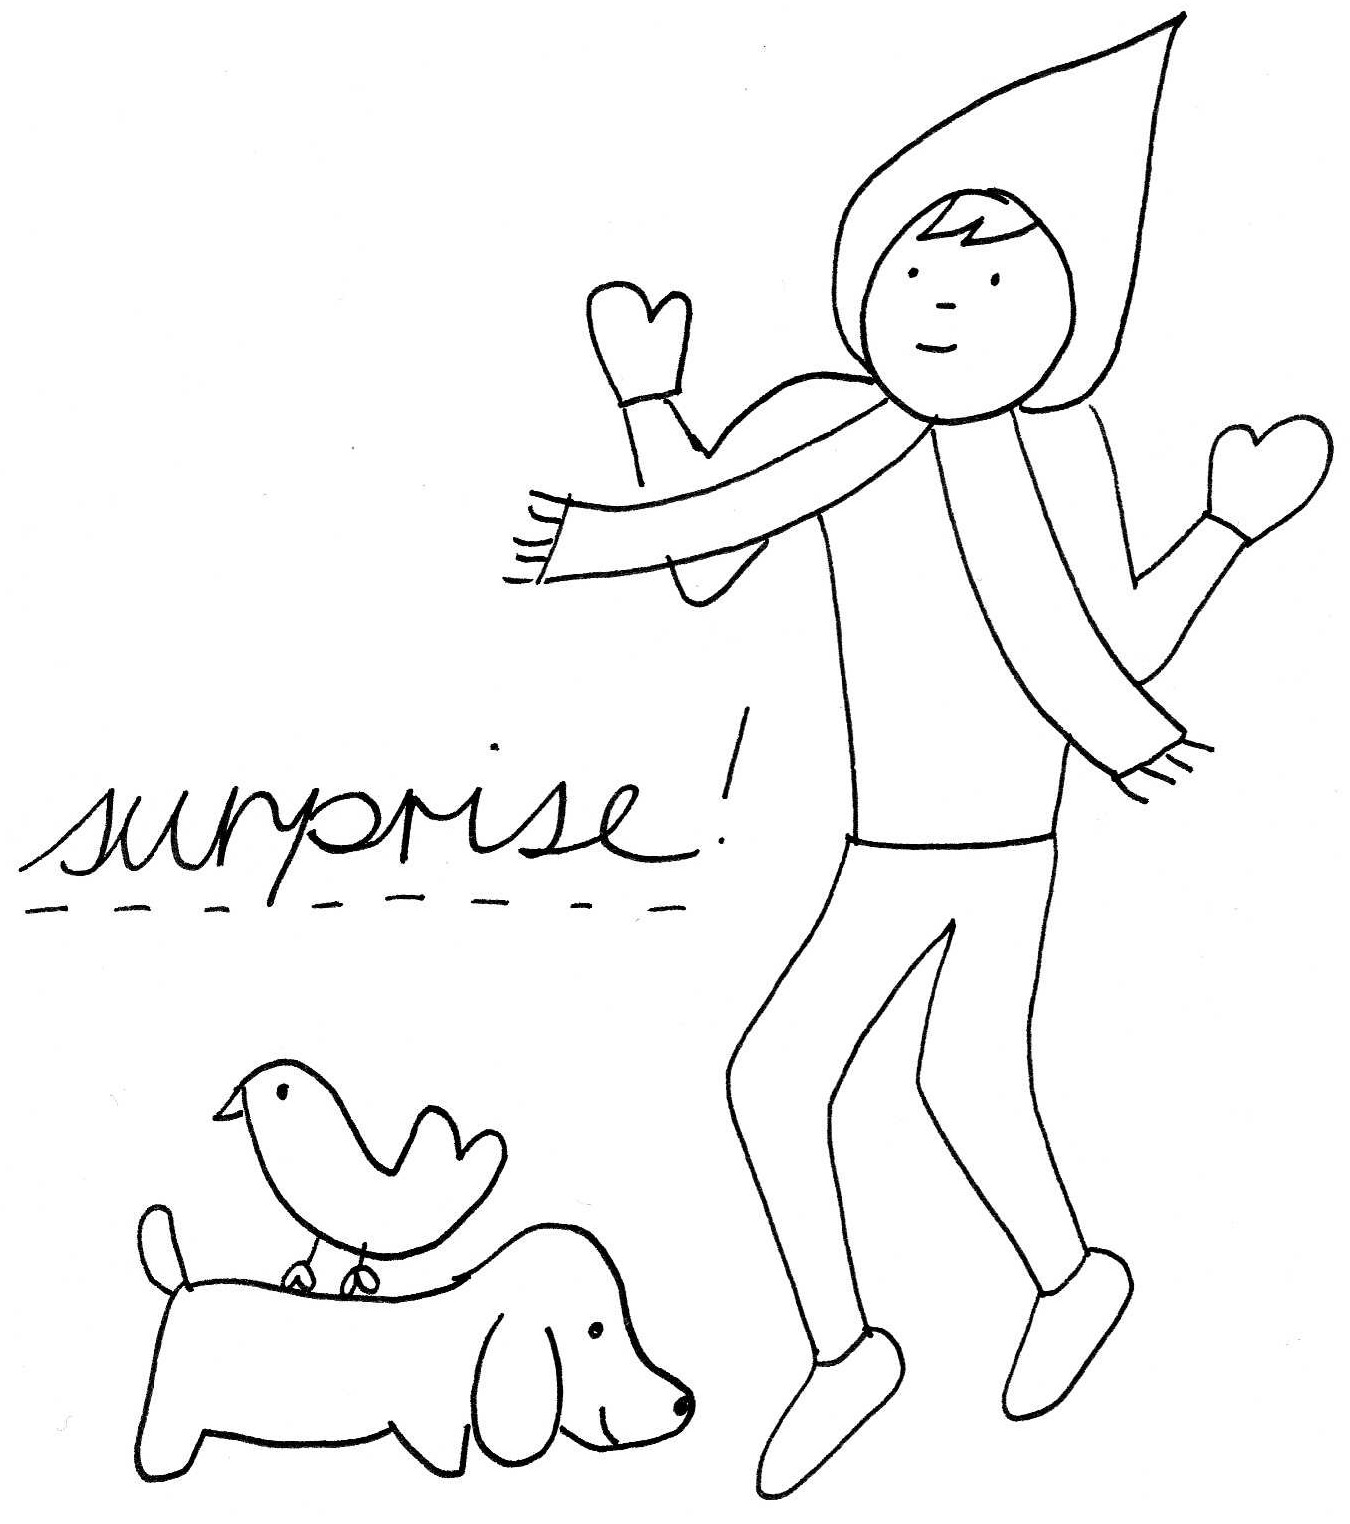
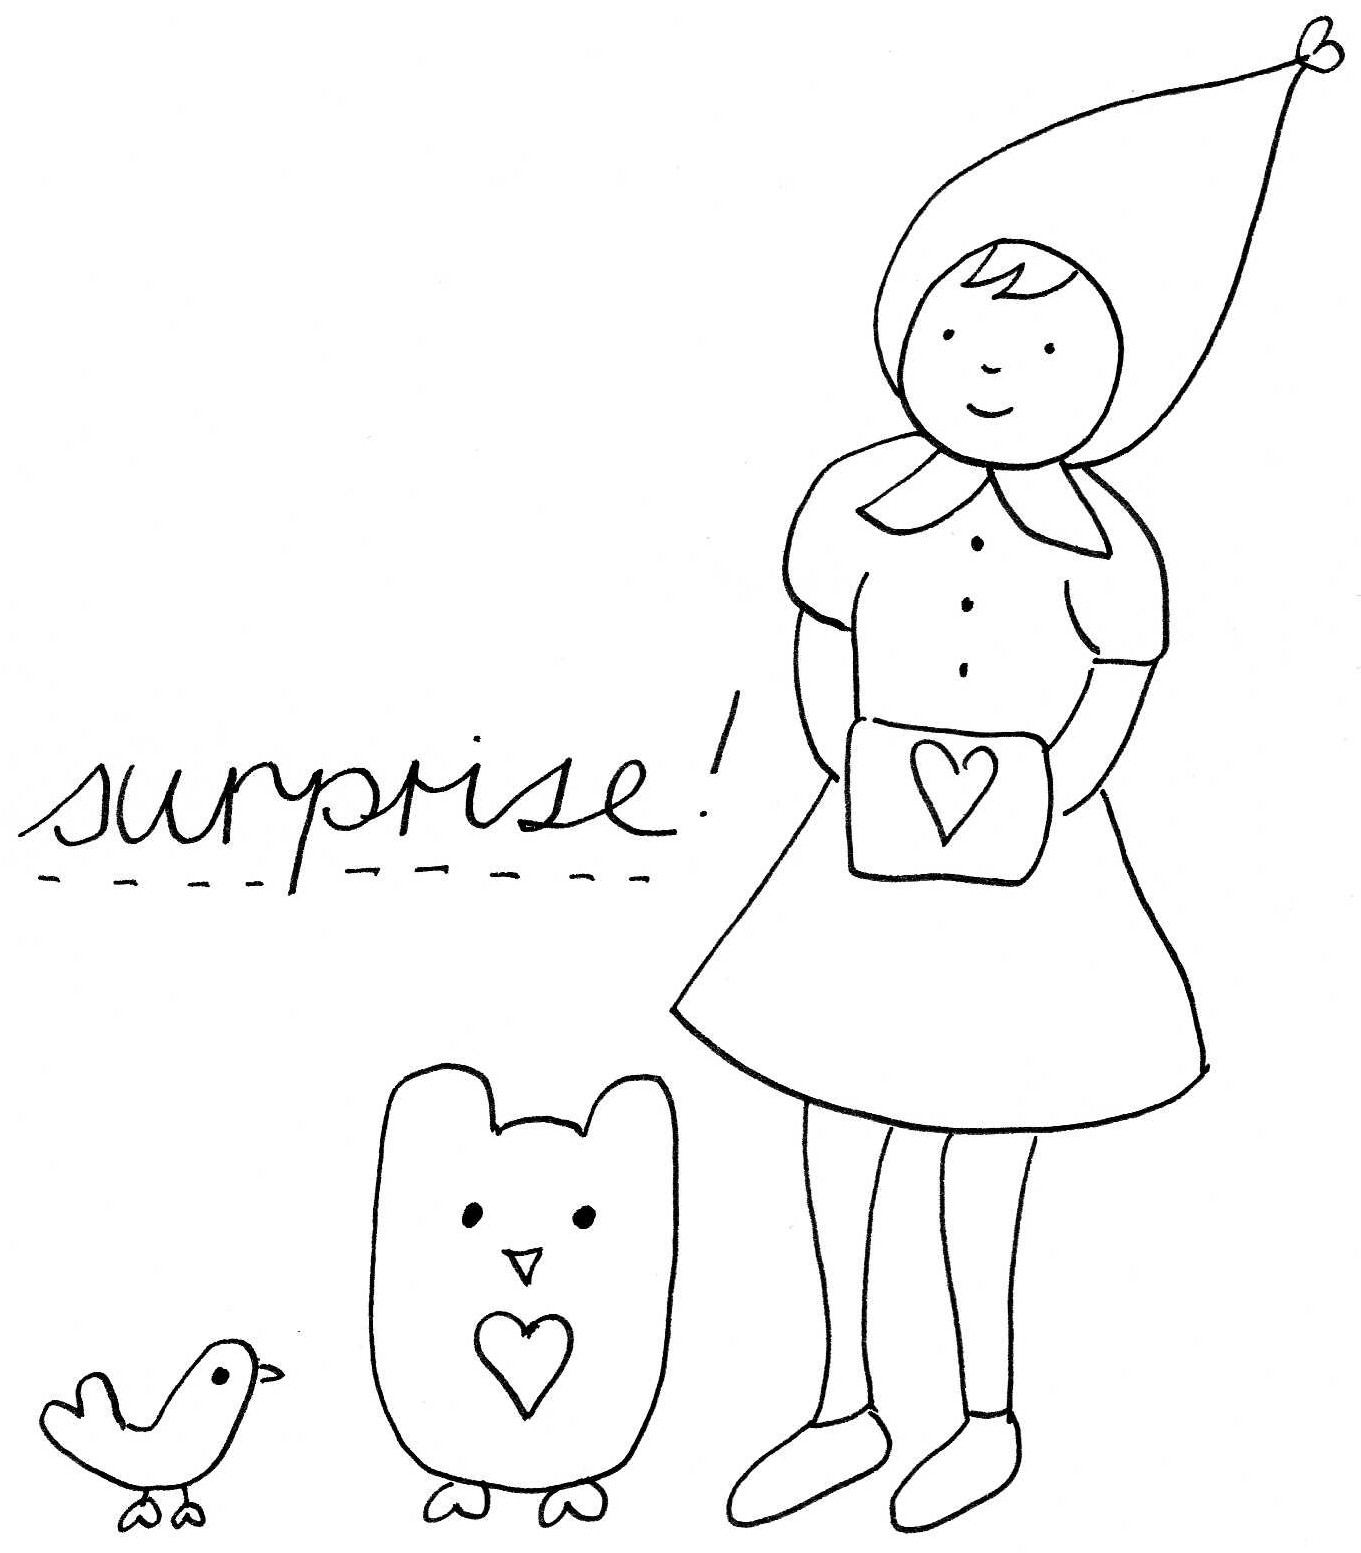
Maybe you could make a stocking for your Mum, or your boyfriend, or your kids, or your niece..? I promise it will be fun and super cute too! These would be good on little gift bags any time of the year, I think! Okay, read on and be a crafty wench!
——————————————————————
To Make An Embroidered Christmas Stocking You Will Need:
Shopping List of Crafty Needs –
It looks like a lot, but that’s just because I’m explaining as I go – it’s really not much stuff, I promise.
- 50cm x 50cm of plain calico for the front of the stocking – it’s a cream coloured fabric that is easy to trace onto and to stitch onto too!
- 50cm x 50cm of pretty Christmassy fabric for the back of the stocking – novelty print, polka dots, stripes… whatever you like
- A fading embroidery marker (ask at your fabric or craft shop) – the CLOVER brand ones or the BIRCH ones are good. These markers fade after a few days – so your outline eventually disappears from behind your stitching and looks super neat and lovely. No drawn on lines peeking through here!
- Embroidery floss in your favourite colours – floss is colourful thread for stitching – it comes in so many great colours and is not expensive – be sure to get black, red and white – then choose some othe great colours too. Embroidery floss is sold in a little bundle called a skein. Each thick strand of floss is made up of six smaller strands. You can use all six strands (if you can get them through your needle!) for super quick thick stitching, or you can seperate down to one or two strands for a finer line of stitching.
- A couple of embroidery needles (or fine needles with big eyes are great too)
- Sharp snippy scissors
- A small embroidery hoop – a 6′” bamboo one would be good
- Some tape (for taping pattern to window and tracing)
Next you will need to:
Go over here and print off the embroidery patterns!
There are some little elves, animals and text for tracing onto your square of plain calico
and there is the basic stocking shape too. Print all of those. Good work.
—————————————————————-
If you’re thinking ahead and wondering how it will all work, here’s what we’ll be doing once you’ve shopped and printed.
We will trace the stocking shape outline onto the calico using the fading marker first.
We’ll then trace the embroidery outline – the elves and owls and things – onto the calico (positioned nicely inside the stocking outline) – again using the fading marker.
Then we’ll embroider – even five minutes a day will get a result within a week or two.
Then we’re going to cut out the stocking shape – with the finished embroidery in the centre of it – and cut the back of the stocking too and sew it together and fancy it up a bit.
Confused?! Don’t be. I’ll show you how each step of the way!
There are also helpful instructions on each sheet which give you little pointers.
—————————————————————
So your mission in the next few days is to:
- Shop or rummage for the above crafty needs
- Download the pattern and stocking template
- Check back here in the coming days if you don’t know what to do next!
I’ll see you very soon for Episode 2 of Stitching Fun! Are you stitching with Mike?
xx Pip
PS – Just comment below or send me an email to let us all know if you are stitching along! I’ll add your name to our Crafty Christmas list on this very blog!
????,????,??,????,??,????,????,????,??A?,????,??,????,???????,AIO?????,AIO,????,????,??????,????,????,????,????,????,?????,??,????,18??,?????,???,????,????,????,?????,????,????,?????,????,??,??,?????,????,??,A?