

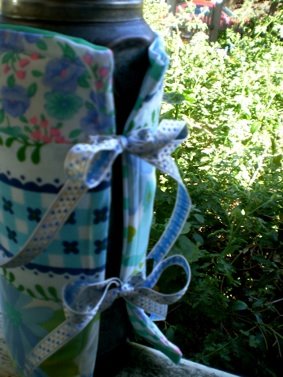
Claire and Meaghan have come up with this sweet tutorial to snaz up your thermos!
————————————————-
Hello!
It is nice to have a pretty thermos but if you have a not so nice one it’s really
fun to make a patchwork cozy to spruce it up!
We think it’s pretty simple (and hopefully our instructions are helpful!)
Here’s how to do it!
———————————————–
Mc Cranky! Thermos Cozy – For The Snazziest Thermos Going ‘Round!
You will need:
Some lovely bits of fabric from your stash ready to cut into (7cm X 7cm) squares and
another piece of fabric (20cm X 20cm) to make the back of your thermos cozy
A small piece of quilt batting (approx 20cm x 20cm)
A sewing machine and thread
Scissors
Decorative Buttons
Needle and Thread
Some Ribbon (approx 1m)
Seam allowance is 0.5cm for the patchwork squares and 1cm for the cozy body
Step 1
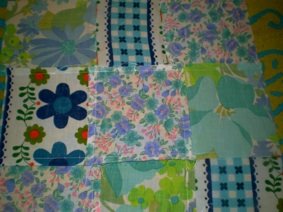
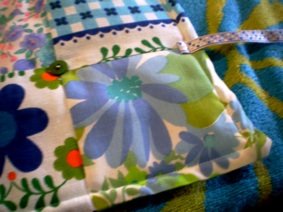
Pick some fabric to use as the front, we used 9 squares measuring 7cm x 7cm –
see our photo – you can see they’re in a three-by-three square.
Arrange your squares in a pretty formation as we did and stitch them together
with a 0.5cm seam allowance.
Press the seams flat.
Step 2
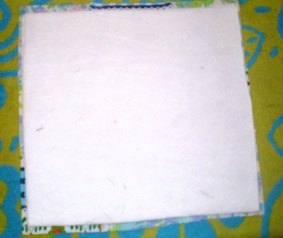
Cut your piece of batting to size.
It should be about 1.5cm on all sides smaller that the front fabric.
(This means that once you take your seams into account, the batting will
fit quite nicely.)
So, pop your batting on top of the patchwork and carefully cut it to the correct size –
but don’t cut the patchwork piece! Just the batting!
Step 3
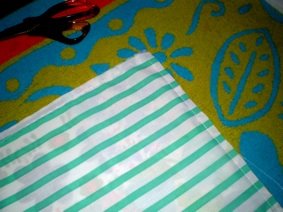
Cut a piece of fabric for the back the same size as the front.
Stitch the front and back together wrong sides facing, allowing 1cm seams and leaving
one end open. (This is so you can turn it out the right way in a minute!)
Step 4
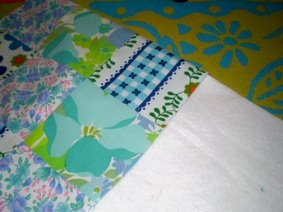
Turn right way out and press the cozy nice and flat. Next, place the batting inside.
If it’s a tight squeeze – then just trim a bit off the offending edge until it fits nicely.
Step 5
Neaten the open edge by tucking both the front and back (raw)
edge neatly inside the cozy piece. Press carefully to create a nice crisp fold
and then pin to secure.
Step 6
To finish off, stitch all the way around the outside – about 1cm in from the tucked
in and pinned edge. Sew on some super cute decorative buttons and add some
ribbon (to tie it up with) and you’re all done!
Have yourself a Pretty Picnic, quick!
Also:
How To Start A Craft Blog
Mike-Ro-Scopes
Nice Blog Manners and How To Have Them
A Bit About Our Craft Book Too
—————-
Listening to: Taken By Trees – Sweet Child O’ Mine
via FoxyTunes